A thermostat is a crucial component in your heating, ventilation, and air conditioning (HVAC) system. It regulates the temperature in your home by controlling the operation of your heating and cooling systems. In this blog post, we will delve into what a thermostat is, how it works, and provide a step-by-step guide on how to troubleshoot if thermostat not working and fix common issues.

Understanding the Thermostat
What is a Thermostat?
A thermostat is a device that senses and maintains the temperature of a system or space by switching heating or cooling devices on or off to maintain a setpoint temperature. It can be found in various systems, including home HVAC systems, refrigerators, ovens, and even aquariums.
How Does a Thermostat Work?
Thermostats operate based on temperature sensors. When the ambient temperature deviates from the desired setpoint, the thermostat activates the HVAC system to bring the temperature back to the setpoint. Here’s a basic overview of how a typical home thermostat works:
- Temperature Sensing: The thermostat has a built-in sensor that measures the current room temperature.
- Comparison: It compares the current temperature with the setpoint temperature (the temperature you want).
- Activation/Deactivation: If the current temperature is below the setpoint, the thermostat sends a signal to turn on the heating system. If it’s above the setpoint, it activates the cooling system. Once the desired temperature is reached, the thermostat sends another signal to turn off the system.
Modern thermostats can be programmable, allowing you to set different temperatures for different times of the day. Some advanced models are even “smart” thermostats, which learn your habits and adjust the temperature automatically to save energy.
Troubleshooting and Fixing if Thermostat Not Working
If your thermostat not working correctly, it can lead to uncomfortable indoor temperatures and increased energy bills. Here’s a step-by-step guide to help you troubleshoot and fix common thermostat issues.
Step 1: Check the Basics
- Power Supply:
- Battery-Operated Thermostats: Check the battery compartment and replace the batteries if necessary. Use fresh batteries to ensure they have enough power.
- Wired Thermostats: Check the circuit breaker or fuse box to ensure the HVAC system is receiving power. Reset any tripped breakers or replace blown fuses.
2. Settings:
- Ensure the thermostat is set to the correct mode (heating or cooling).
- Verify the temperature setpoint is appropriate for the current season and your comfort preferences.
3. Display:
- If the display is blank, it could indicate a power issue. Check the power supply as mentioned above.
- Some thermostats have a reset button on the front or back panel that can be used to reset the display.
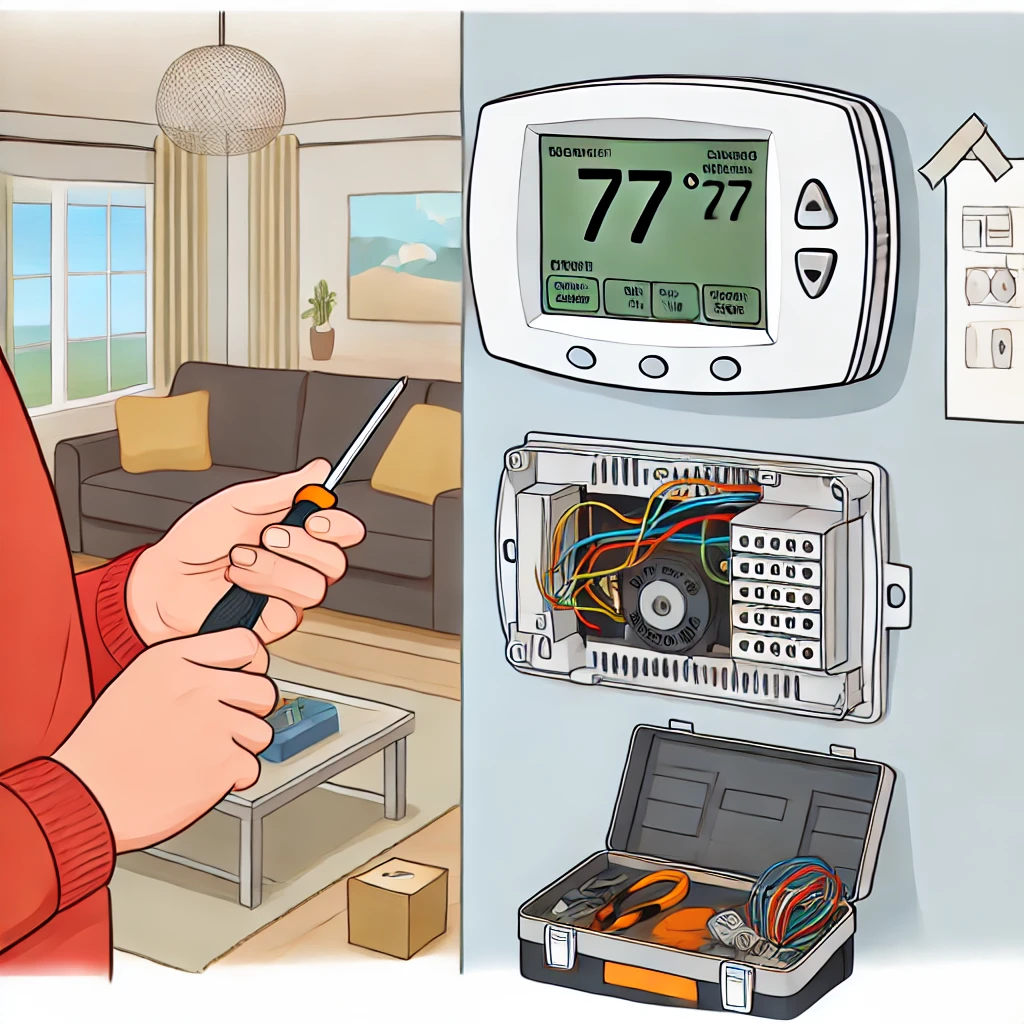
Step 2: Clean the Thermostat
Dirt and debris can affect the thermostat’s performance.
- Turn Off Power:
- Turn off the power to the thermostat at the circuit breaker to avoid any electrical accidents.
2. Remove Cover:
- Carefully remove the thermostat cover. This can usually be done by gently prying it off with your fingers or a small flathead screwdriver.
3. Clean:
- Use a soft brush or compressed air to gently clean the inside of the thermostat, especially around the sensor. Avoid using any liquid cleaners, as they can damage the components.
Step 3: Check the Wiring
Faulty wiring can cause the thermostat to malfunction.
- Turn Off Power:
- Ensure the power is off at the circuit breaker to prevent any electrical shock.
2. Inspect Wires:
- Remove the thermostat cover and carefully inspect the wires for any signs of damage, such as fraying, corrosion, or loose connections.
3. Tighten Connections:
- Use a screwdriver to tighten any loose wire connections. Make sure all wires are securely attached to their respective terminals.
4. Replace Damaged Wires:
- If any wires are damaged, replace them with new ones of the same gauge. Use wire nuts or electrical tape to secure the new connections.
Step 4: Test the Thermostat
- Turn On Power:
- Restore power to the thermostat at the circuit breaker.
2. Set Temperature:
- Set the thermostat to a temperature above (for heating) or below (for cooling) the current room temperature.
3. Listen:
- You should hear a click indicating the thermostat is sending a signal to the HVAC system.
4. Check System Response:
- Ensure the HVAC system responds appropriately by turning on. Listen for the sound of the furnace, air conditioner, or heat pump starting up.
Step 5: Reset the Thermostat
Sometimes, a simple reset can resolve the issue.
- Consult Manual:
- Refer to the thermostat’s user manual for reset instructions. Different models have different reset procedures.
2. Perform Reset:
- Follow the steps to reset the thermostat to its factory settings. This usually involves pressing and holding a combination of buttons for a specific period.
Step 6: Replace the Thermostat
If troubleshooting steps do not resolve the issue, the thermostat may need replacement.
- Choose a Compatible Thermostat:
- Select a thermostat compatible with your HVAC system. Consider upgrading to a programmable or smart thermostat for added convenience and energy savings.
2. Turn Off Power:
- Turn off power to the HVAC system at the circuit breaker to avoid any electrical accidents.
3. Remove Old Thermostat:
- Carefully remove the old thermostat from the wall. Note how the wires are connected to the terminals and label them if necessary to ensure correct installation of the new thermostat.
4. Install New Thermostat:
- Follow the manufacturer’s instructions to install the new thermostat. Connect the wires to the corresponding terminals, secure the thermostat to the wall, and attach the cover.
5. Turn On Power:
- Restore power to the HVAC system at the circuit breaker and test the new thermostat by setting it to a temperature above or below the current room temperature.
Conclusion
A thermostat is a vital component of your home’s HVAC system, ensuring comfortable indoor temperatures. Understanding how it works and knowing how to troubleshoot and fix common issues can help maintain an efficient and reliable heating and cooling system. By following these detailed steps, you can identify and resolve most thermostat problems, ensuring your home remains comfortable year-round. If problems persist, consulting a professional HVAC technician may be necessary.